Easy Origami Nets: Print & Fold 3D Paper Craft
Printable nets are a fantastic way to jump into 3D origami with minimal fuss! Imagine creating a charming, multi-faceted geometric gem that you can hang as a delightful decoration or gift. This tutorial is perfect for absolute beginners, including kids, and you’ll have your first beautiful model ready in about 30-45 minutes. I’ll guide you step-by-step through the simple process of cutting out the net and then folding it into its final, impressive form. You’ll discover just how easy it is to transform a flat pattern into a stunning 3D creation. Let’s get folding and bring these amazing shapes to life together!
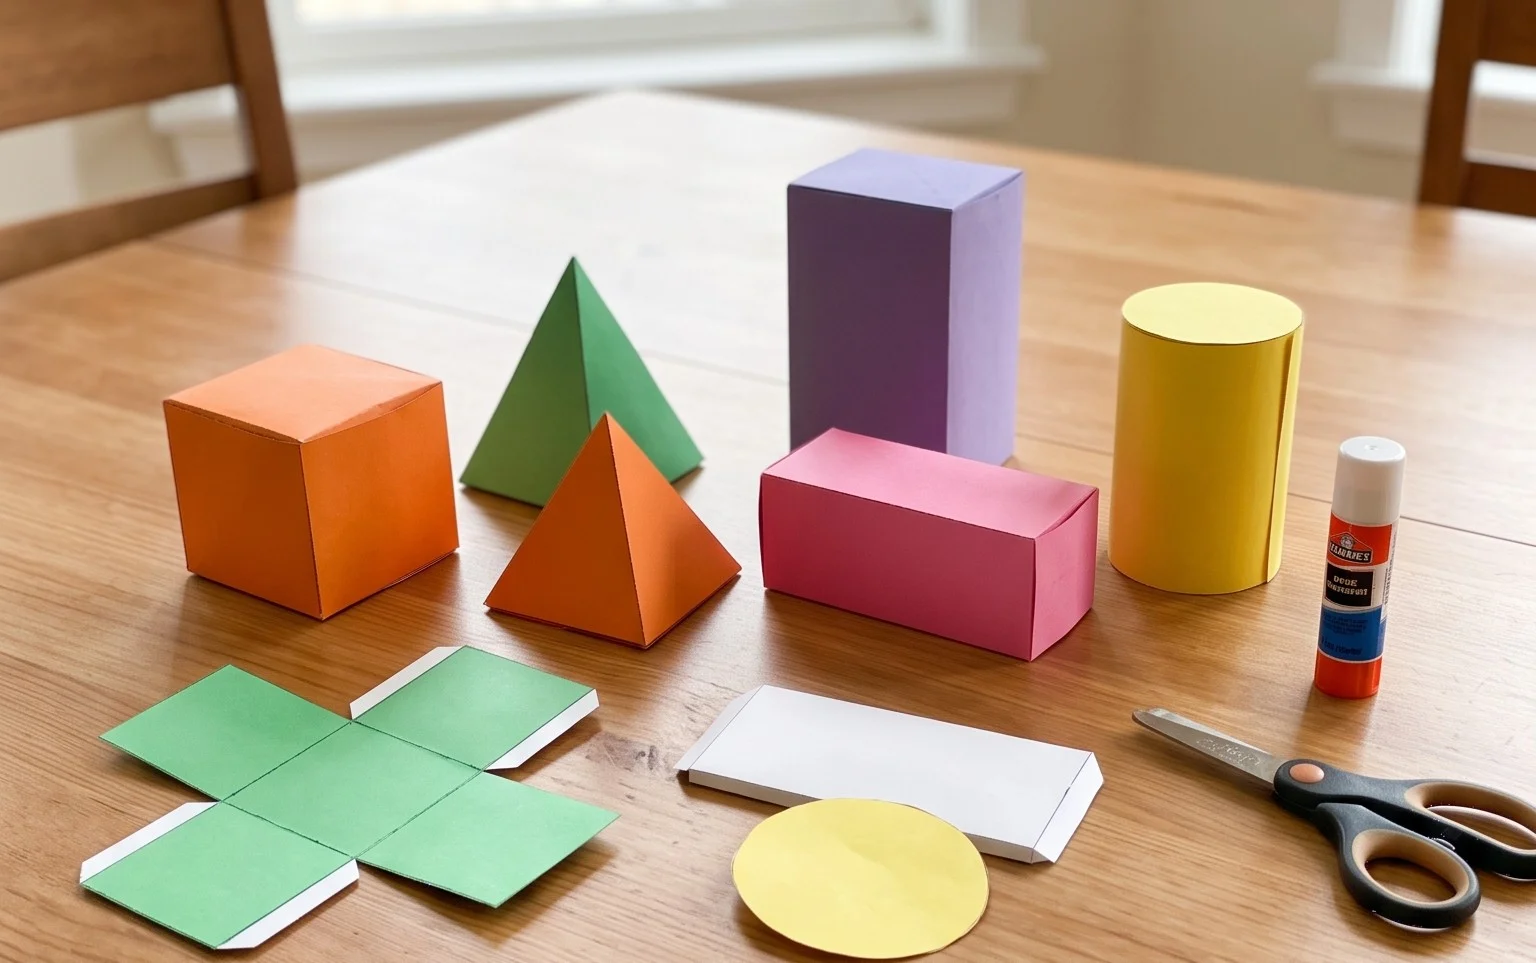
Exploring Printable Origami Nets: A Gateway to 3D Wonders
Hello there, fellow paper enthusiasts! Today, we’re diving into a fascinating area of origami: printable nets. These are essentially the flat, 2D patterns that, when cut and folded correctly, transform into beautiful 3D origami models. Think of them as blueprints for your paper creations. This method opens up a whole new world of possibilities, especially for beginners who might find complex 3D shapes intimidating to fold from scratch. We’ll walk through the entire process, from choosing your paper to displaying your finished piece.
Choosing the Right Paper for Your Printable Nets
The paper you choose is crucial for a successful origami project, and printable nets are no exception. For this type of origami, where you’ll be cutting and taping (or gluing), you have a bit more flexibility than with traditional origami.
- Type of Paper: Standard printer paper (20-24 lb or 75-90 gsm) is perfectly fine to start with. It’s readily available and easy to print on. As you gain confidence, you might want to experiment with slightly heavier cardstock (around 65 lb or 176 gsm). Cardstock provides more rigidity and makes the finished model sturdier, but it can be harder to fold precisely. For very intricate nets, thinner paper like kami (traditional origami paper) can be wonderful, but be aware that printing on it might be less straightforward depending on your printer.
- Weight: As mentioned, a good starting weight is standard printer paper. If your net involves a lot of small tabs for gluing, a slightly heavier paper will hold up better. If it’s a simpler net with fewer connection points, lighter paper will make folding easier.
- Size: The size of your printable net will dictate the size of your finished model. Most nets are designed to be printed on standard A4 or Letter-sized paper. If you want a larger model, you can usually scale up the PDF before printing, but be mindful of how this affects the detail and foldability. For very small models, you might need to print at a reduced size.
- Single or Double-Sided: This depends entirely on the design of the net. Many nets are designed to be printed single-sided, with all the lines and markings on one side. If the net is meant to be colored or decorated, you might find designs that suggest printing on the “blank” side of double-sided patterned paper. For a clean, unadorned model, a single-sided print on plain paper is ideal.
Mastering the Base Folds: Precision is Key
While printable nets don’t always involve the classic origami bases like the kite base or bird base, there are fundamental folding techniques that are essential for success. The most important here is the ability to make crisp, accurate mountain and valley folds.
- Valley Folds: These are folds where the crease forms a “valley” on the surface of the paper, with the paper folding towards you. Imagine you’re folding a piece of paper in half to make a greeting card; the crease where it folds is a valley fold.
- Mountain Folds: These are the opposite of valley folds. The crease forms a “mountain peak” on the surface, with the paper folding away from you. If you were to unfold that greeting card, the crease would appear as a mountain from the other side.
To make these folds cleanly, I always recommend using a bone folder or even the edge of a ruler or credit card. After you’ve aligned the edges or corners precisely, press firmly along the fold line. Don’t be afraid to apply a bit of pressure; this creates a sharp crease that will make subsequent steps much easier and your finished model more robust.
Your Printable Net: A Step-by-Step Journey
Let’s imagine we’re working with a simple printable net, perhaps one that will fold into a basic cube or a simple house shape. The process generally involves cutting out the net and then folding along the designated lines.
- Print Your Net: Download your chosen printable net and print it on your selected paper. Ensure your printer is set to print at 100% scale unless you intend to resize.
- Cut Out the Net: Carefully cut along the solid outer lines of the net. Use scissors or a craft knife for precision. Take your time with this step, as a neat outline will make folding easier.
- Score the Fold Lines: Before folding, it’s highly beneficial to score the lines where you’ll be folding. These are usually indicated by dashed or dotted lines. To do this, place a ruler along the line and gently run the dull side of a blade (like a butter knife or the back of a craft knife) or a bone folder along it. This creates a weak point that makes folding much easier and neater.
- Fold Along the Lines: Now, we begin the folding. Most nets will have a combination of mountain and valley folds. Look at the pattern. Often, lines that are intended to be glued or connected will be valley folds (folding inwards to form tabs), while lines that form the edges of the 3D shape will be mountain folds (folding outwards to form the structure).
- For Valley Folds: Align the edges that meet at the dashed/dotted line and gently fold the paper towards you along the scored line. Press firmly to create a crisp crease. If there’s a tab associated with this fold, ensure it folds neatly inward.
- For Mountain Folds: These are the lines that will form the structural edges of your 3D object. Typically, you’ll bring the two sections of paper together so that the scored line is on the outside, forming a peak. Again, press firmly along the scored line.
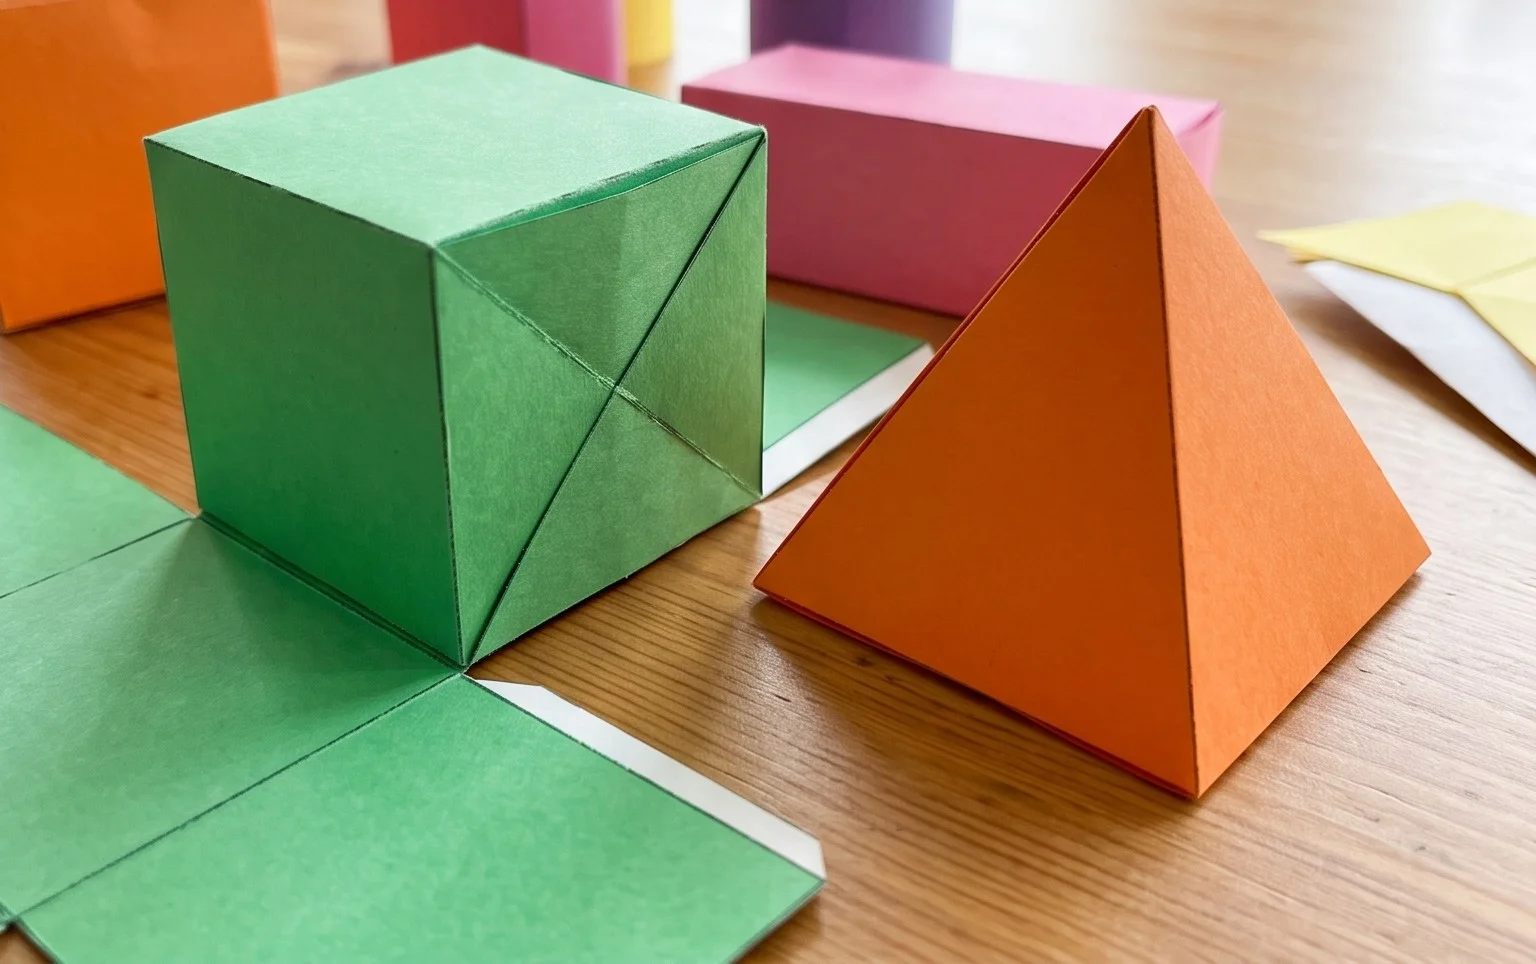
- Assemble the Shape: As you fold, you’ll start to see the 3D shape emerge. You’ll notice tabs extending from some of the panels. These tabs are designed to be glued or taped to adjacent panels to hold the model together. Carefully apply glue or tape to the tabs and press them firmly against the corresponding panels. Work your way around the net, folding and adhering each section until the entire shape is formed. For a cube, you might fold up four sides and then glue the top and bottom panels on.
Common Pitfalls and How to Avoid Them
Even with a clear printable net, beginners can sometimes run into a few snags. Don’t worry if you do; it’s all part of the learning process!
- Inaccurate Cutting: This is perhaps the most common issue. If your initial cuts are wobbly or not precise, it will throw off all your subsequent folds and the final alignment.
Avoidance: Take your time when cutting. Use a ruler as a guide if needed, especially for straight lines. If using scissors, try to cut smoothly without stopping and starting too much. For very detailed nets, a craft knife and cutting mat are ideal.
- Fuzzy or Incorrect Folds: Not scoring the lines, or not pressing firmly enough, can lead to rounded, indistinct folds. This makes it hard to get clean corners and joins. Similarly, folding on the wrong side (mountain instead of valley, or vice-versa) will result in the model not fitting together correctly.
Avoidance: Always score your fold lines! It makes a huge difference. When folding, consciously think about whether you need a mountain or valley fold. Often, the orientation of the printed lines or tabs will give you a clue. If unsure, dry-fit the pieces before gluing to see how they should connect.
- Messy Gluing/Taping: Too much glue can warp the paper, and not enough means your model won’t hold together. Similarly, crooked tape can look unsightly.
Avoidance: Use a thin, even layer of glue. White craft glue or a glue stick works well. Apply it to the tabs. For tape, use small, neat pieces. Double-sided tape is an excellent option for a cleaner look. Let the glue dry completely before handling the model too much.
Varying Your Printable Net Creations
The beauty of printable nets lies in their adaptability. Once you have a design, you can easily change it up:
- Size: As mentioned, simply scale the PDF before printing. Larger nets create impressive display pieces, while smaller ones are great for garlands or miniature scenes.
- Paper Pattern and Colour: This is where you can really let your creativity shine!
- Coloured Paper: Print on coloured cardstock for vibrant models.
- Patterned Paper: Use scrapbook paper or wrapping paper with interesting patterns. For a more advanced technique, you can print a plain net onto plain paper and then colour or decorate it yourself with markers, pencils, or paint before cutting and folding.
- Double-Sided Paper: Use paper with different colours or patterns on each side. This can create fantastic visual effects, especially if some parts of the net are visible from the inside or outside.
Ideas for Displaying and Gifting Your Finished Models
Your completed 3D origami creations are more than just folded paper; they’re little works of art! Here are some ideas for showing them off or sharing them:
- Desk Buddies: Small, sturdy models make charming desk decorations.
- Party Decor: Create a collection of themed nets (like stars, animals, or geometric shapes) and string them together to make a garland or hang them individually for a festive touch.
- Gift Toppers: A beautifully folded model can be a unique and personal alternative to a traditional gift bow.
- As Part of a Larger Gift: Tuck a small, intricate model inside a handmade card or gift box.
- Educational Tools: For younger audiences, a cube net can be a fun way to teach basic geometry and spatial reasoning.
- Mobile Creations: Hang several models from a mobile structure for a dynamic art piece.
Printable nets are a fantastic entry point into the world of 3D papercraft. They combine the satisfaction of traditional origami with the accessibility of digital design. So, grab your printer, pick a net, and start folding your way to some amazing creations!
Conclusion
You’ve done it! With these printable nets, creating beautiful origami models has never been easier. Don’t worry if your first attempt isn’t perfect; that first fold is simply practice for the next. We encourage you to try this project and revel in the satisfaction of bringing a flat net to life. Share your finished creation with friends and family – they’ll be amazed! For your next adventure, try creating a traditional origami crane using a square sheet, or explore modular origami with multiple nets to build larger structures. There’s a whole universe of paper projects waiting for you to discover!
